SAC Stories: Fully customizable export
For SAC Analytics Desginer SAP Analytics Cloud provides Custom Widgets to enhance the dashboarding functionality. We use it extensively for biExport.
SAC Stories, however, cannot be extended with Custom Widgets. So what should you do if you want to:
- create high-quality exports to PowerPoint, Word, PDF and Excel?
- be able to customize the export documents freely?
- make sure tabular data is exported exactly the way you set it up for the dashboard?
This blog will give you the answer to these questions. And it will give you all instructions on how to set up an biExport for SAC Stories.
You can use our biExport Scheduler UI to export SAC Stories:
- all export parameters can be maintained within the schedule definition
- choose to generate the documents automatically according to a plan or to generate it based on a certain event
- specify how the document should be delivered: e.g. mail, sharepoint, fileserver or web service
By using an event-based schedule and adding a web link to the Story, reporting users can even actively start the generation of the document.
Plain Story export
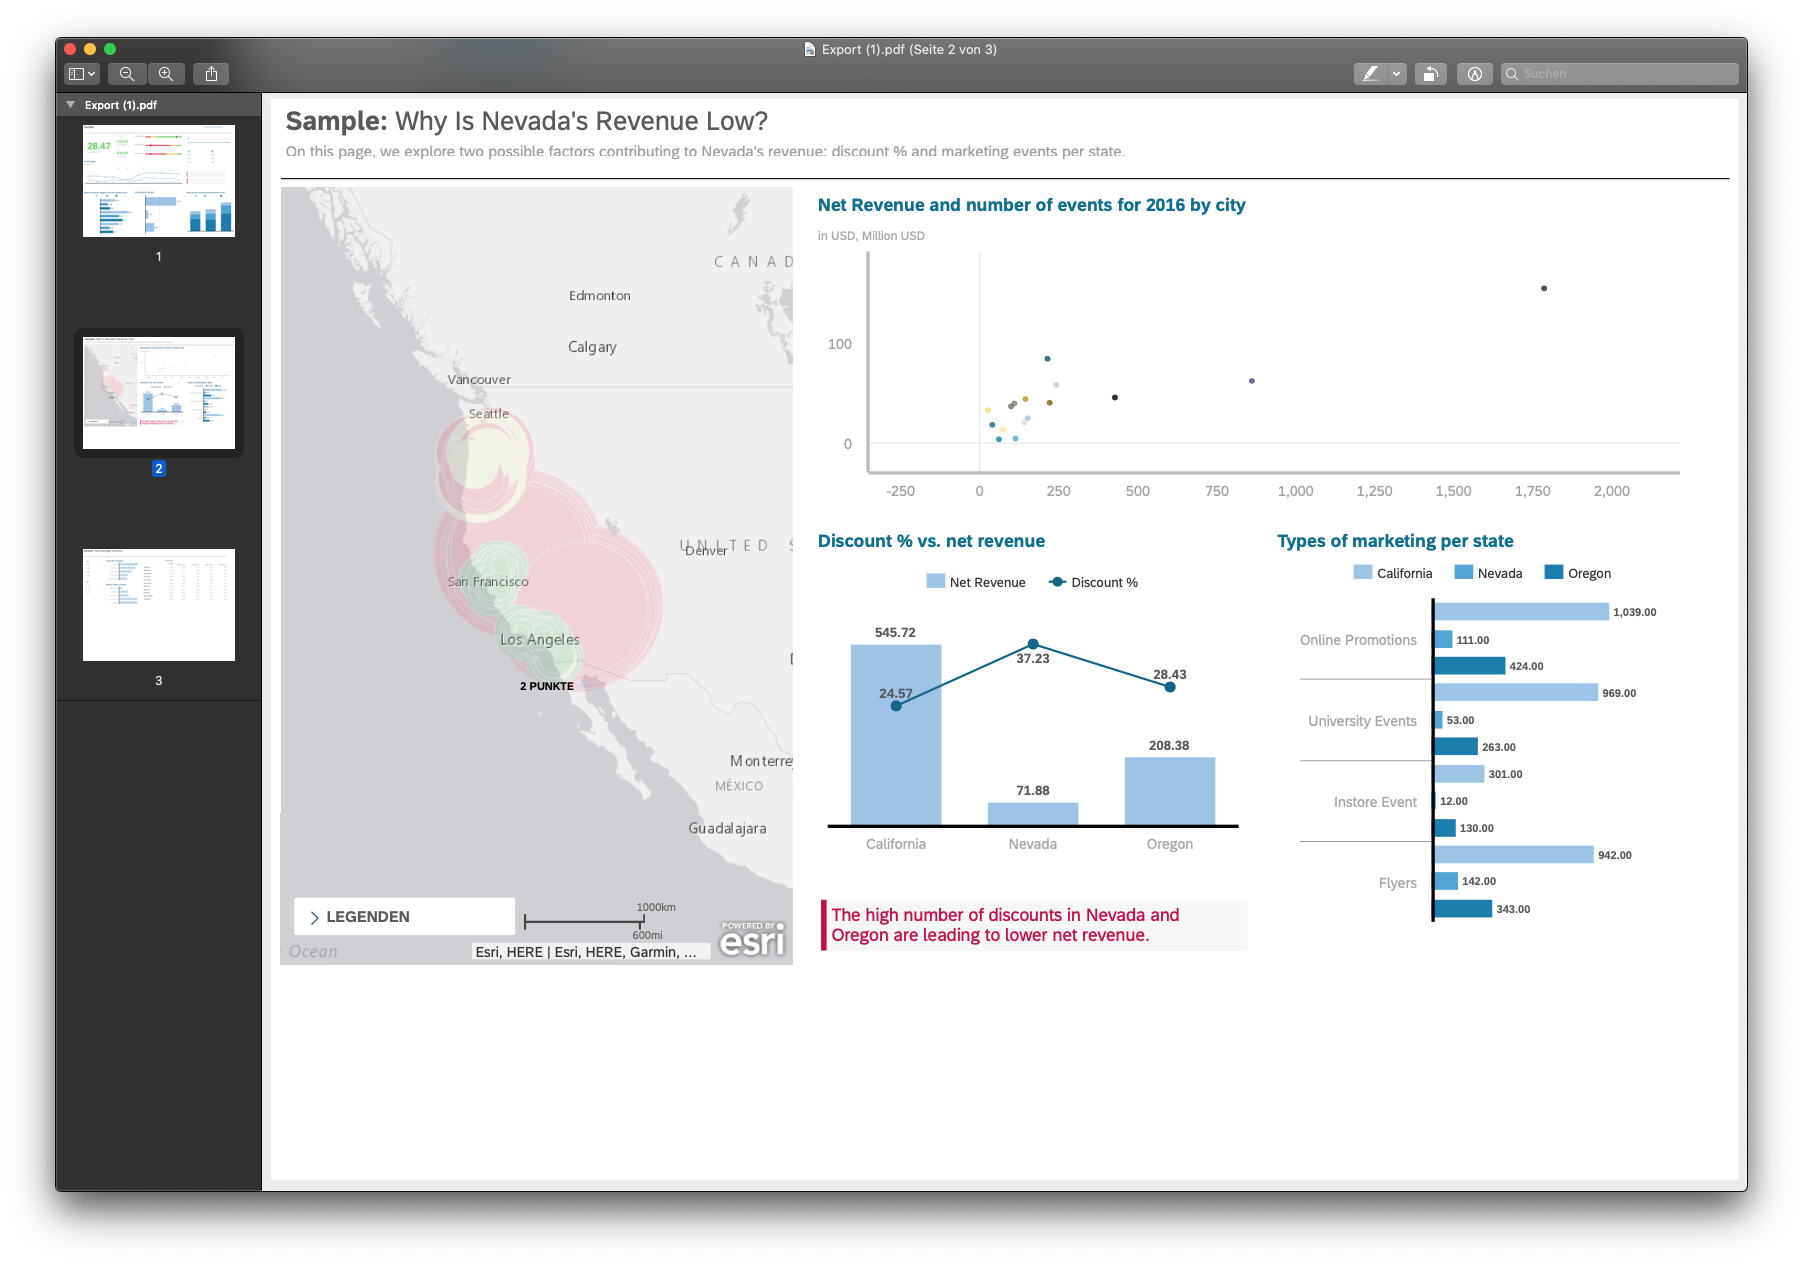
Let’s start to create a plain export of the Story. This will result in the following PDF document – of course you can get the same result in PowerPoint, Word or Excel:

To achieve this result you have to create the following schedule definition:
- You start by choosing a Caption and in the example, you go for a Planned schedule on a monthly basis.

- Export format will be PDF and you can specify the filename for the export. As we do not want to use a specific layout for the export, we leave Visible Components, Export Template and Page Sections blank.

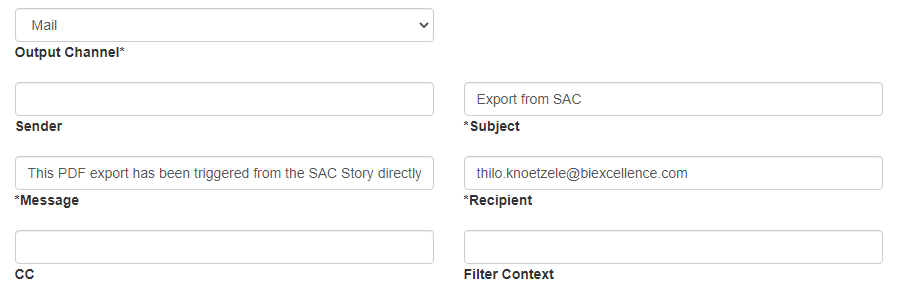
- The result shall be sent via Mail, and we provide a subject, notification text and a recipient.
- Now comes the SAC specific part – we have to fill in the Story ID and the User if you want to schedule with authorization of a specific user. If you leave it blank, the central biExport user is used to perform an SSO login to SAC.

For SAC stories that are defined to adapt to the screen width of the user client, it also makes sense to set a static Screen width and Height for which the dashboard is displayed nicely.
The Story ID can be taken from the SAC URL:

Click on OK to save and activate the schedule.
Export multiple pages
A lot of SAC stories consist of several pages that highlight different reporting aspects. In this part we will enhance our export to export three pages of the dashboard, instead of just the initial page:
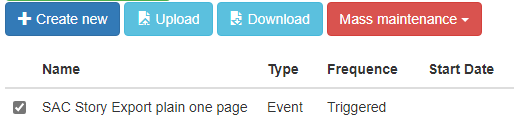
For this enhancement we use the Excel download feature: We select the schedule that we have just created and choose Download.
The generated exportschedule.xlsx file contains the complete definition of the schedule that we have selected. A complete how-to on how to work with the Excel download will be published in a separate blog post. If you delete the Schedule ID (column A) on the Schedule List tab, biExport will create a new schedule when the export is uploaded.

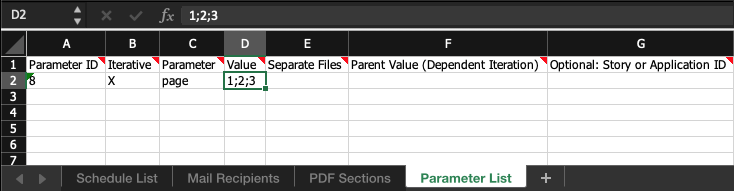
For now, we only want to change the schedule to add page 2 and page 3 to the export. For this, we switch to the Parameter List tab, and we add a row with the following fields:
- Value: The pages you want to export, separated by semicolon. In our example, we enter “1;2;3” but of course you could also enter any combination of pages here.
- Parameter: biExport uses URL parameters to remote control Stories. SAC provides “page” as a preset URL parameter to pass the selected page to a Story.
- Iterative: must be set to “X”, so each parameter value is passed with a separate URL
- Parameter ID: The link to the schedule on the Schedule List tab. Make sure the Parameter ID corresponds to the Parameters (reference to Parameter List Worksheet column (AC) of the Schedule List. By default biExport reuses the schedule ID for this.
Now you can save the Excel file and upload it again to the Scheduler UI. With the next execution, the new setting will be applied. Alternatively you can also click on the Play button to start the schedule immediately:

Use Export Templates and explicitly select Widgets
The plain PDF document still needs a boost - let’s say you want to add your logo, headers and footers, maybe even a title page and TOC. You can do so easily with the help of an Export Template. Find out here how to create and upload such a document.
In our example, we use a Word Export Template with a CONTENT placeholder:
We also want to explicitly choose the Widgets that shall be visible in the document: In Export Templates or Visible Components you can reference SAC Widgets and Panels with their technical name.
SAC Stories generate these names automatically, and unfortunately there currently is no way of displaying them within SAC. We recommend to execute the SAC Story and then open the Developer Tools. There you can use the Picker to locate the element that you want to export and to find out its technical name:

In our example, we choose the already uploaded Export Template from the dropdown box. For Visisble Components, we identified the Widgets __widget13 and __widget3 for the export.

The result will look like this:

Call export directly from the story
A biExport schedule can also be triggered by an external event. This can be a data load that has been successfully ended in the system or a simple link that can be clicked by a user.
To achieve this, you first of all have to change the schedule type from Planned to Event triggered. Also, you enter an event name and value:

To trigger such a schedule definition, you have to call the following url, with EVENT_NAME and EVENT_VALUE corresponding to the values you just entered above:
https://[yourserver]/OPENBI/EVENTHANDLER/batchjob.biex?event=EVENT_NAME&event value=EVENT_VALUE
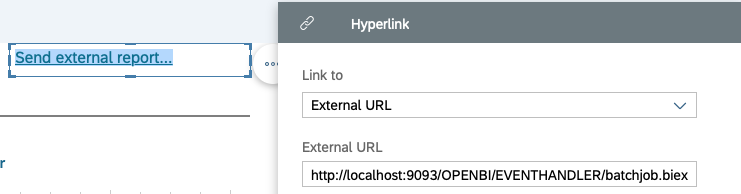
In your SAC Story, you add a text, e.g. "Send external report…”:

Then you choose Add and Hyperlink from the context menu. Here you can add above URL as External URL:
As a result, the export schedule is triggered, the export document is generated as defined and then sent to the user via mail.
