Record a support trace
If you are facing problems during an export, our support team can easily reproduce your issue! You only have to collect the following information:
- the temporary files created during the export
- the trace log with detailed log messages
To collect these files:
- Activate temporary files and tracing (see below)
- Execute your export scenario
- Collect the generated files
- Send us the files via the ticket system
- Deactivate temporary files and tracing
- Delete the generated files
Activating temporary files
By default, the biExport service does not physically store any information. To activate the storage of temporary files, you need to set the following Custom Parameters under Settings in the Web Configurator:

Activating trace log
Depending on your export scenario, the trace log is accessed differently.
Scheduler Logs
If you are using the biExport Scheduler for your export scenario, logs are accessed:
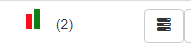
- directly on the Scheduler UI by clicking on one of the execution bars of the inplace chart.
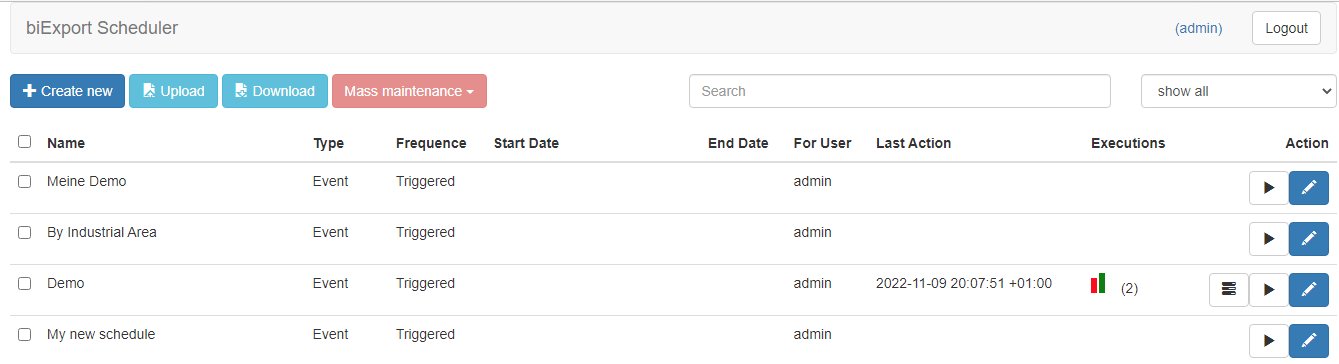
The button next to it provides all logs in one download:
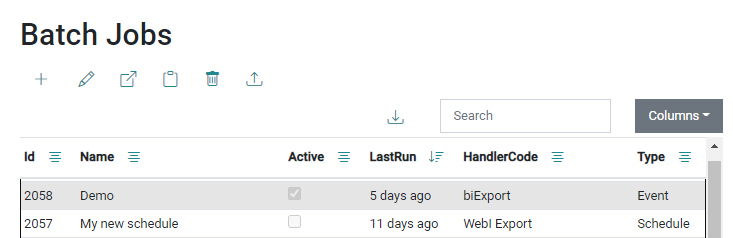
- from the Batch Jobs section in Web Configurator by double-clicking on a batch job:
On the Logs tab you can select an execution on the left side. Its detailed log will be displayed on the right.
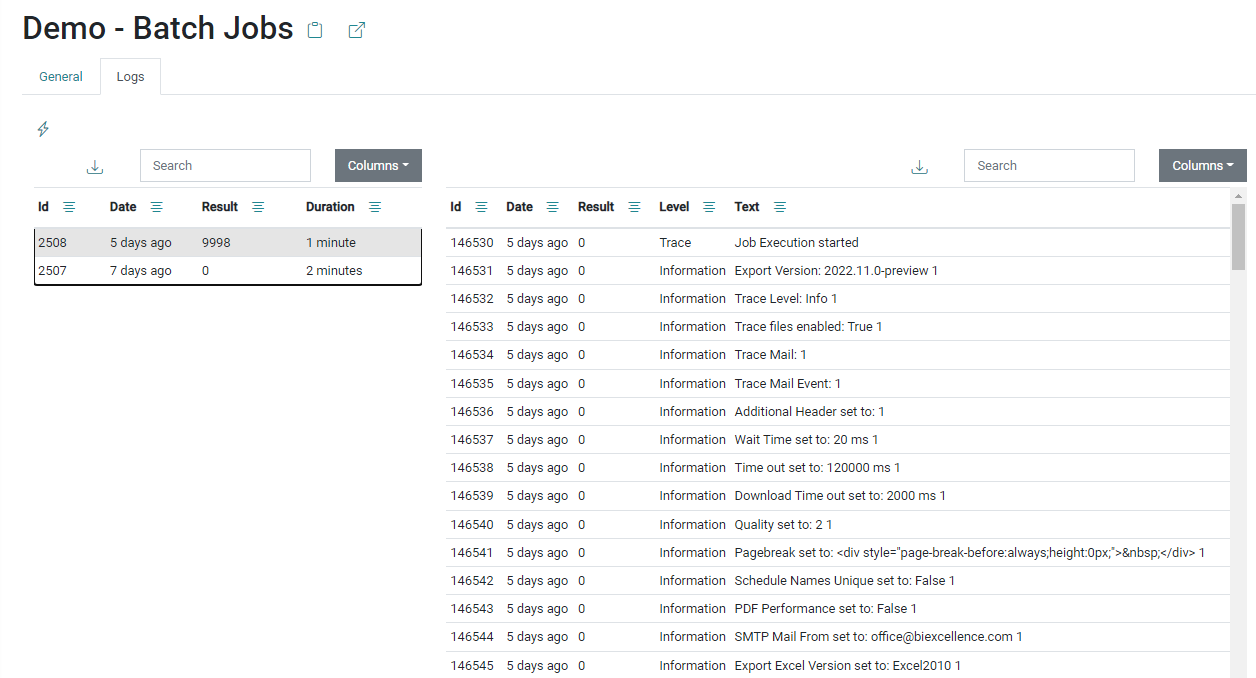
You can also download the log from here:

Online Export Logs
If you are triggering the export directly from an application, there are two ways of accessing the logs:
- open the Web Configurator Console before you start the export. Then copy the trace via "Cntrl+A" and "Cntrl+C".
-
activate the trace file storage before you start the export.
Then send us the trace file that has been generated.
Do not forget to reset TRACE to empty after the recording!

Creation date: 17.11.2022
Category: Installation & Configuration
back to overview